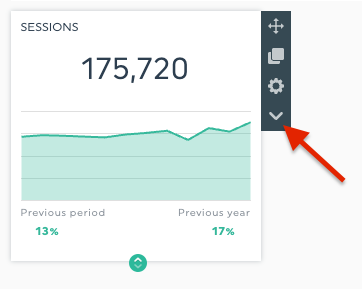
How to move and resize your widget:
All you need to do is hover your mouse over the widget and the edit settings button will appear. At the top right-hand corner simply click and drag your widget anywhere on your dashboard. If you want to resize it depending on the widget style, you will have the option to resize at the bottom, to the right of the widget, or both options depending on the graph style.

In a List widget or Multi-Column List widget, if you don't see all of your data, don't forget that you can expand the widget by dragging the green dot at the bottom of the widget when you hover over it. This will allow more rows of data to be displayed.
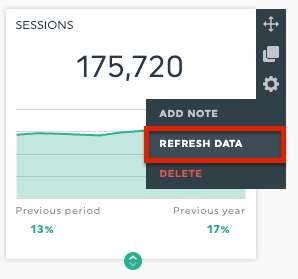
How to refresh your widget:
You can refresh your widget to be sure to have the latest data for your current period. To do so, simply press the Refresh Data button, in the lower-right corner of the widget.
There are multiples cases when you could want to refresh a widget:
- To make sure the retrieved data is correct
- To populate a widget created from a CSV data source (see this article)
- To regenerate data after fixing a source problem (renewed authorization, for example)
How to duplicate your widget:
There is basically only one step which is to hover your cursor over the widget you would like to duplicate, and click on “duplicate”.
How to delete a widget:
Sometimes you may need to delete widgets, this is done via the settings. It's important to know that once you delete your widget, this is a permanent action and it cannot be restored.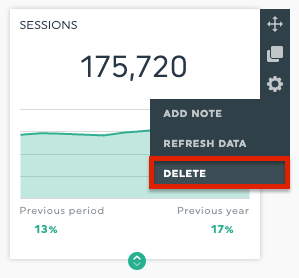
How to add a note to your widget:
Sometimes we need to explain data results to our customers. You can easily add a note to your widget and give a definition of the KPI you are measuring OR you can even write a description of what the results mean, etc. 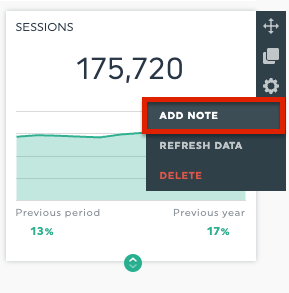
Once you are in view mode, you will see an orange icon at the top right-hand corner of your widget which indicates that there is a note here. If you click on the icon, it will open up the note to the right.
Now that we have covered all of the basics, let's deep dive into the edit widget options: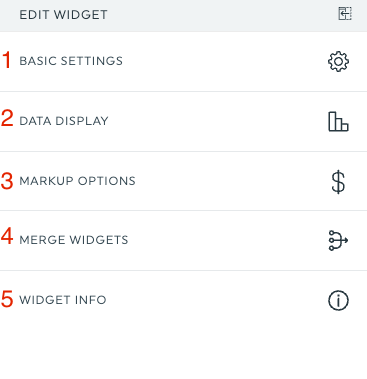
1- Basic Settings:
In this tab, you will find all the information concerning your key metrics, dimensions, segments, and filters (when available). What can you do here:
1- You can rename your widget title
2- You can rename your metric and dimension subtitles
3- Change your metric.s and dimension.s *As a best practice, we recommend duplicating your widget first in case the wrong changes were made, it's easier to go back*
2- Data Display:
This is a fun tab because this is where you can change the style of your widget (if available). Here is more on what you can do here:
1- Change the style of your widget
2-Change the graph size (when available)
3- Show percentages, fluctuations, and totals (when available)
4- Change the numeric format ex: fluctuation: absolute value
3- Mark up options:
Markups can be applied to a cost-related widget in order to take into account a management fee. The markup is applied at the “ad cost” level. For example, a markup for CPC (cost per click) would be: (cost + markup) / clicks.
Click HERE to find mark-up best practices.

4- Merge Widget:
Multiple widgets can be merged into one as long as they are compatible, in other words, they need to have the same graph type and should be similar metrics, such as Ad Cost from two different integrations). Read our article for more details. Please note that as a best practice, we recommend duplicating your widget first since a merge cannot be undone.
5- Widget Info:
Lastly, our widget info tab. This is where you will see which data source is being pulled into your widget, which metrics and dimensions are being used, and if you have a filter applied, you will see which filter.