How to add my own logo to a dashboard?
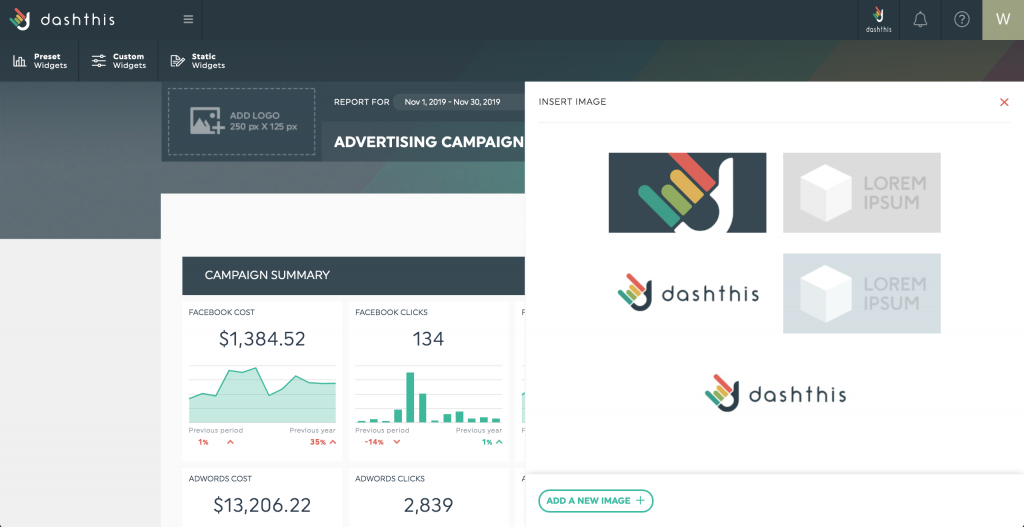
Adding a company or agency logo is one of the first steps designed to customize your dashboard. To add a logo to your dashboard, simply click on the “Add a logo” placeholder at the top left of your dashboard.
After clicking on the “Add a logo” placeholder at the top left of your dashboard, you’ll probably need to upload your logo into DashThis. Otherwise, you just need to select a logo previously uploaded.
To upload a new logo, click on “Add a new image” and select the logo’s file.
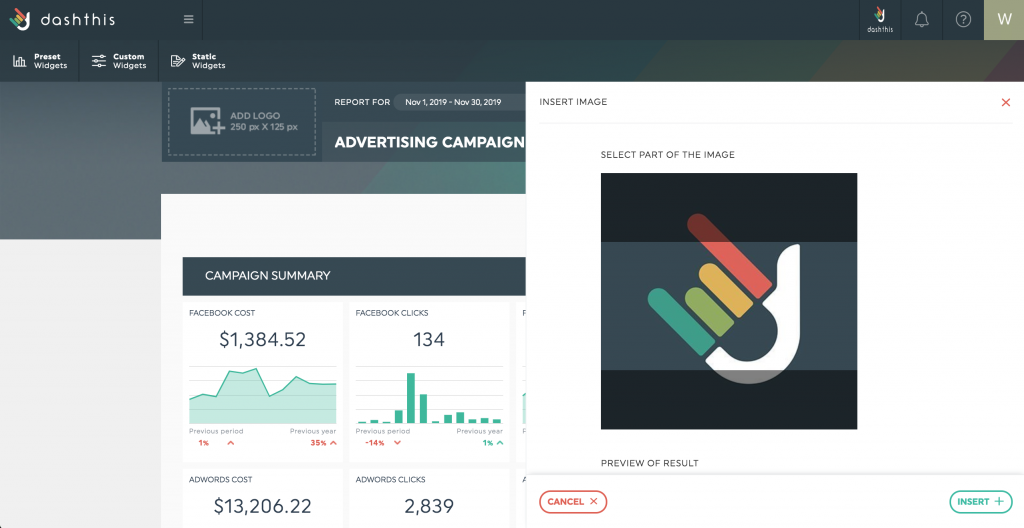
Once this is done, select the part of the image that will appear on your dashboard. Since the logo’s space size is 250 x 125 pixels, you’ll only be able to select a part of the image fitting into this space.
In order to display the logo without unnatural stretching, the ratio of the image must be 2:1, in terms of resolution and size. In other words, the image must be twice as long as it is high. If the image doesn’t follow this guideline, it will be stretched to fit the box.
If you want to modify or remove this logo over time, you just need to click on “Replace image” or “Delete image”while hovering over the logo’s space.


